The procedure below should be used for any Brunswick CNS computer that did not have TightVNC installed as part of the image.
Download the attached installer and copy the file to the tools folder for the CNS system.
Log into the computer under an administrator account (e.g. owner).
Navigate in Windows Explorer to the tools folder and double-click the installer file.
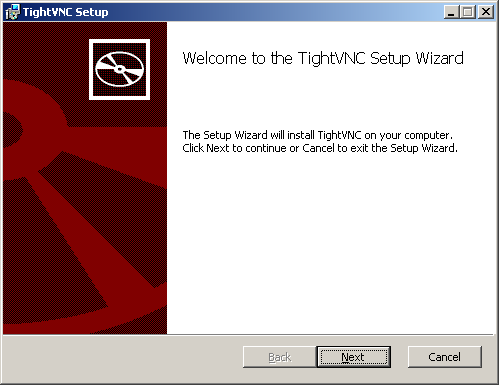
When the setup screen appears click Next.
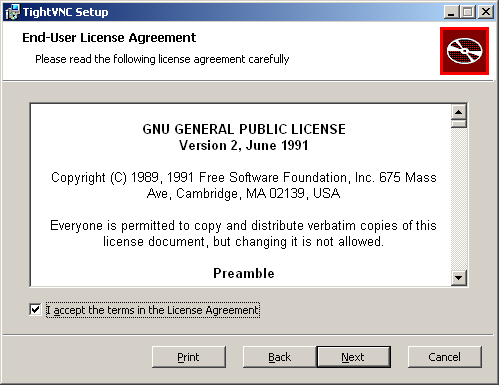
Check the box to accept the license agreement and click Next.
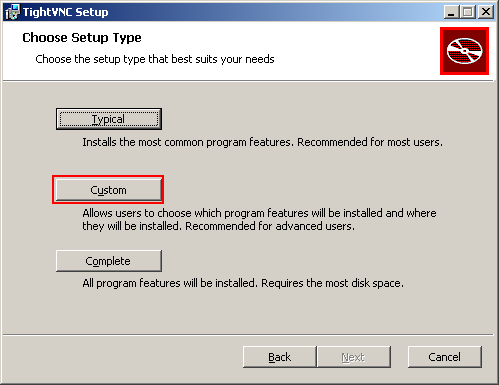
Select the Custom setup type.
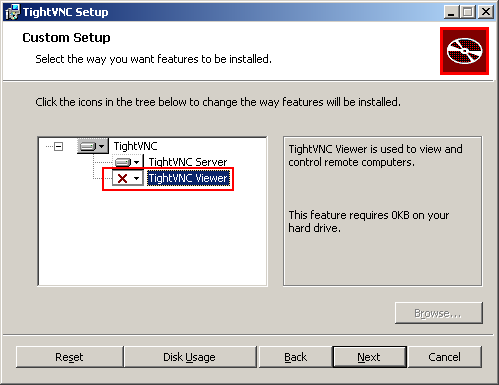
Client PC's: Click the drop-down for TightVNC Viewer and select to not install, then click Next. Server PC's: Click the drop-down for TightVNC Server and select to not install, then click Next.
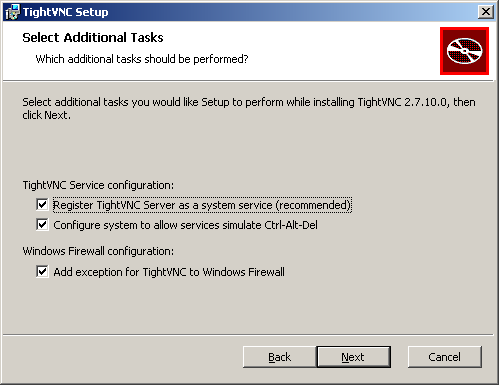
Verify that all three options are enabled on the Select Additional Tasks screen, and click Next. Note: The values on this screen will vary depending on whether installing the Server or Client portions.
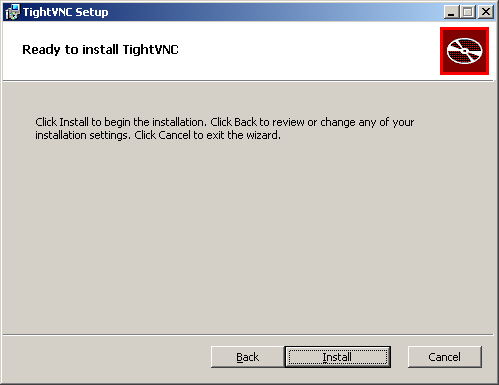
On the Ready to install screen click Install to being the installation.
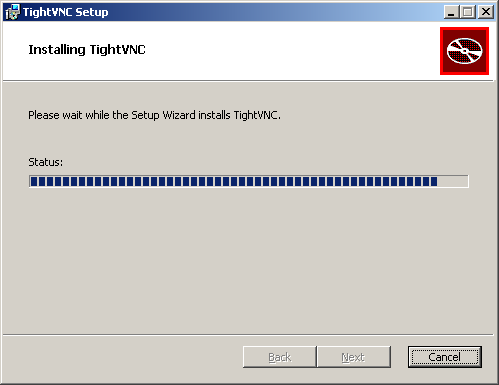
The software will begin to install, which should take 2-3 minutes.
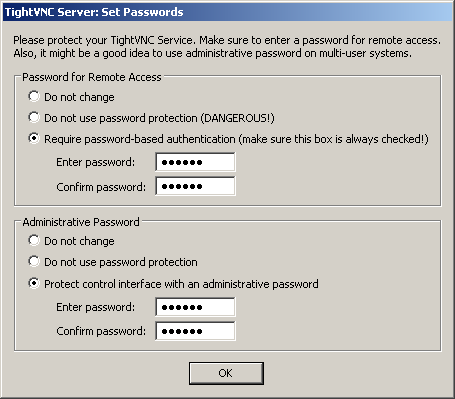
As the installation completes, you will be prompted with the Set Passwords screen.
Set the passwords to lower case:
"vector" for Vector/Vector Plus Systems
"sync" for Sync Systems
Click Finish on the final screen to close the installer.
You should now see the icon for TightVNC in the taskbar.
07/30/2020 - Updated to current 2.8.27 release from TightVNC. 10/15/2019 - Updated to current 2.8.23 release from TightVNC. 04/20/2017 - Added password information for Sync TightVNC setup. 09/16/2015 - Initial KB Release