| Environment: |
| Brunswick CNS Systems |
| Applicable Version(s): |
Computers running Windows Server 2003 or later Computers running Windows XP or later |
| Procedure: |
The procedure below should be used for any Brunswick CNS computer that did not have TightVNC installed as part of the image.
- Download the attached installer and copy the file to the tools folder for the CNS system.
- Log into the computer under an administrator account (e.g. owner).
- Navigate in Windows Explorer to the tools folder and double-click the installer file.
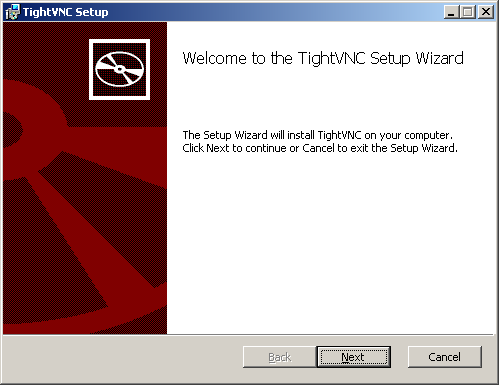
- When the setup screen appears click Next.
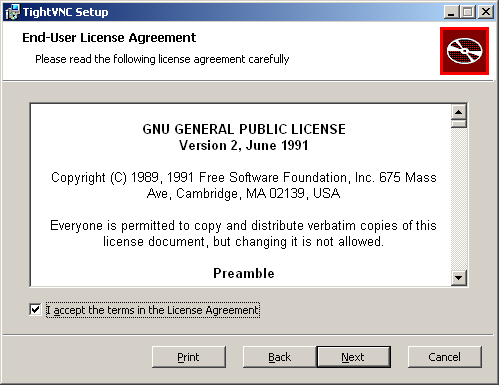
- Check the box to accept the license agreement and click Next.
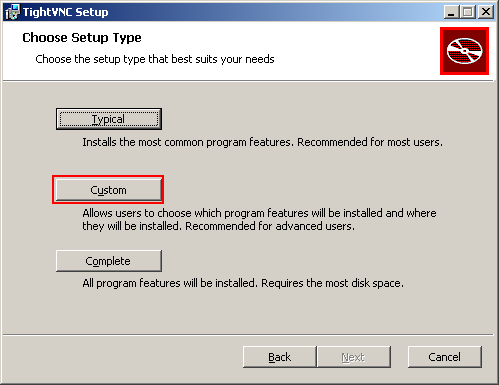
- Select the Custom setup type.
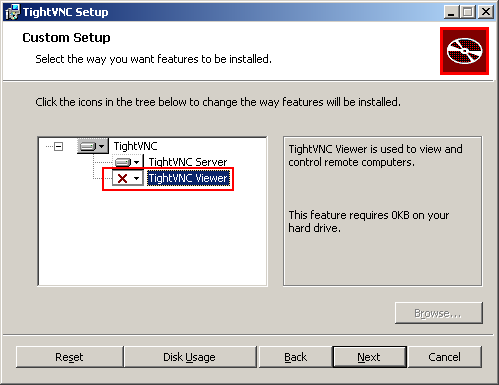
- Client PC's: Click the drop-down for TightVNC Viewer and select to not install, then click Next.
Server PC's: Click the drop-down for TightVNC Server and select to not install, then click Next.
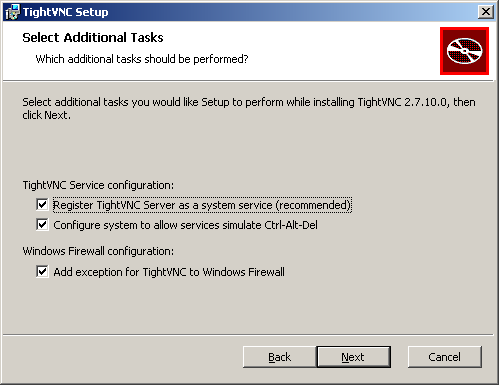
- Verify that all three options are enabled on the Select Additional Tasks screen, and click Next.
Note: The values on this screen will vary depending on whether installing the Server or Client portions.
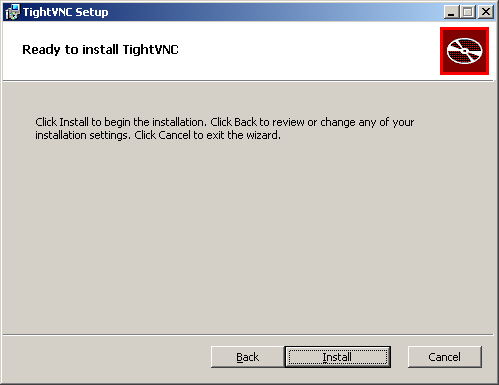
- On the Ready to install screen click Install to being the installation.
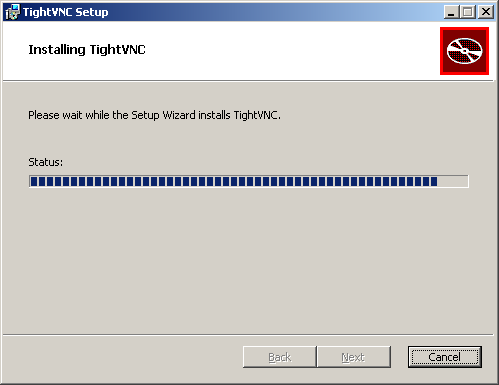
- The software will begin to install, which should take 2-3 minutes.
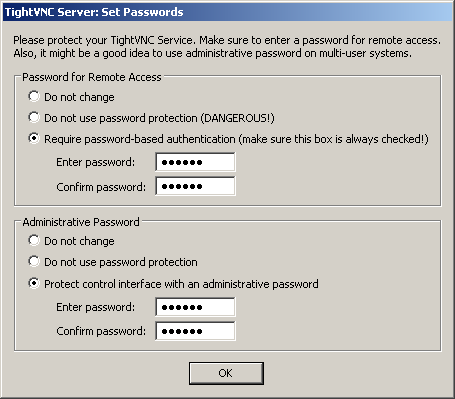
- As the installation completes, you will be prompted with the Set Passwords screen.
- Set the passwords to lower case:
- "vector" for Vector/Vector Plus Systems
- "sync" for Sync Systems
- Click Finish on the final screen to close the installer.
 - You should now see the icon for TightVNC in the taskbar.

|
| Applicable Files: |
32-bit Windows: tightvnc-2.8.27-gpl-setup-32bit.msi
64-bit Windows: tightvnc-2.8.27-gpl-setup-64bit.msi |
| Related Information and Links: |
| http://www.tightvnc.com/ |
| Revision Date:
|
07/30/2020 - Updated to current 2.8.27 release from TightVNC.
10/15/2019 - Updated to current 2.8.23 release from TightVNC.
04/20/2017 - Added password information for Sync TightVNC setup.
09/16/2015 - Initial KB Release |